firebase的访问一直不稳定,所以还是在github pagse上面也同步一份博客的内容吧
git的使用记录
感谢一下@magidrag0n大佬的教学
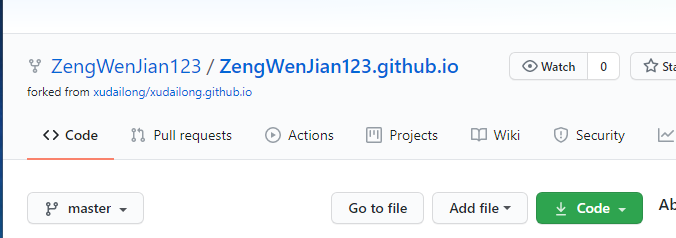
首先在你的github创立一个名叫:
你的github用户名+github.io的仓库- 我的github用户名叫
zengwenjian123所以我建立的仓库名叫:zengwenjian123.github.io

- 我的github用户名叫
然后命令行进入到博客的文件夹
1
2
cd hexo
#进入博客更目录安装插件
1
npm install --save hexo-deployer-git
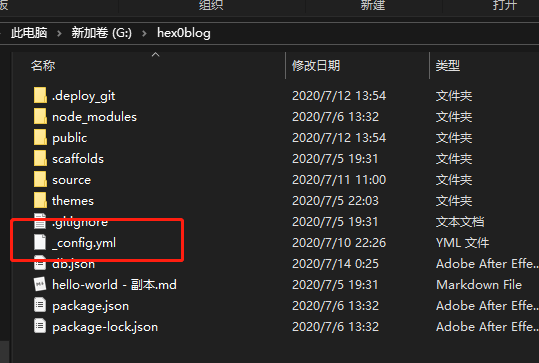
打开站点配置文件
_config
在最下面添加一个函数
1
2
3
4
deploy:
type: 'git'
repo: 'https://github.com/ZengWenJian123/ZengWenJian123.github.io'
branch: 'master'这里填入的是你自己的仓库路径

运行设置账户名
1
2
git config --global user.email "you@example.com"
git config --global user.name "Your Name"来设置您账号的缺省身份标识
然后运行hexo三连:
1
2
3
hexo cl
hexo g
hexo d提示输入username for github时输入你的github登录邮箱
提示输入password for github时输入你的github登录密码
输入指令记住账户和密码(不用每次部署的时候再次输入)
1
git config --global credential.helper store
你的hexo博客下的
public文件夹将会上传到github仓库了

- 现在访问https://zengwenjian123.github.io/ 将可以访问到你的博客(说好的google firebase真香呢?)

- 博客部署github pasges完成
注意事项
Username for ‘https://github.com': 输入的是github上的邮箱账号, 而不是github中设置的username, 这是个巨坑!!!
Password for ‘https://你的github邮箱@github.com’: 输入github的登录密码,点击enter键即可.
利用下面的代码记住账户和密码
1 | git config --global credential.helper store |
自动化
设置短命令:
令在ubuntu的环境下可以使用短命令来执行一键将静态博客页面部署到github
首先打开你个人目录下的.bashrc隐藏文件
1 | vim ~/.bashrc |
然后按’Esc’后按’:wq’保存退出
最后在终端输入命令生效刚刚的更改就完事了
1
source ~/.bashrc

gdd(搞大点)就是短命令名,每当输入gdd将自动执行
1 | hexo clean |
部署三连
| firebase 托管 | https://usg-cn.web.app/ |
|---|---|
| github 托管 | https://zengwenjian123.github.io/ |
这两个blog将会同时更新
git相应代码
1 | git add README.md |


